FAQs
Welcome to the Kooky Craftables support hub! Whether you have a quick question or want to master the art of paper crafting, you'll find everything you need here.

A Great Place to Start!
Before you print, watch this in-depth tutorial where I'll show you: (1) what paper to use and why it matters, (2) where the “secret” glue zones are, and (3) how easy it is to go from flat sheet to finished character.
-
For the best results, I always recommend a high-quality inkjet printer, specifically the Epson EcoTank series. (Not a sponsor—I just own one and have years of experience with it!)
Here's the engineering reason why: Inkjet ink soaks into the fibers of the paper, allowing the color to flex and bend with every fold. Laser printers, on the other hand, fuse toner onto the surface like a thin layer of plastic. When you fold laser-printed paper, that toner cracks and flakes, leaving white lines across your artwork.
The bottom line: Laser can work in a pinch, but if you want that professional, seamless finish without worrying about cracking, inkjet is the way to go!
-
For the perfect balance of durability and "fold-ability," I recommend 65lb or 80lb (175–215 gsm) uncoated cardstock. It's sturdy enough to stand on your desk for years, but light enough to fold easily with scoring.
Regular printer paper is too flimsy for these characters—trust me, you'll want the upgrade!
-
I'm a big fan of Elmer's Washable Glue Stick (the one with disappearing purple ink!) for speed, or a clear-drying tacky glue for maximum strength.
Because I engineer my projects with large structural glue tabs, a glue stick and a few seconds of hold time will do the trick.
-
My projects are engineered for smooth, straight-line cuts, so a pair of sharp scissors is usually all you need!
However, if you prefer to use a craft knife, you certainly can—just be careful!
-
Think of it like a 3D puzzle. Just follow the numbers in order!
Start with Zone #1, apply glue, and press it to its matching surface. By following the sequence, you ensure the character builds itself in the most stable way possible. No guesswork, no headaches.
Some projects have clue zones or special instructions, so be a paper craft detective and have fun looking for those surprises!
-
Just hit reply to any of my emails or tag me on socials. I'm here to make sure every Kooky Craftables project you build is a victory.
Tools of the Trade
You don’t need a fancy workshop to build the Kooky Craftables—a pair of scissors and some glue will always get the job done. But if you’re curious about the specific gear I use in my studio to keep things fun, here’s my personal shortlist.
-
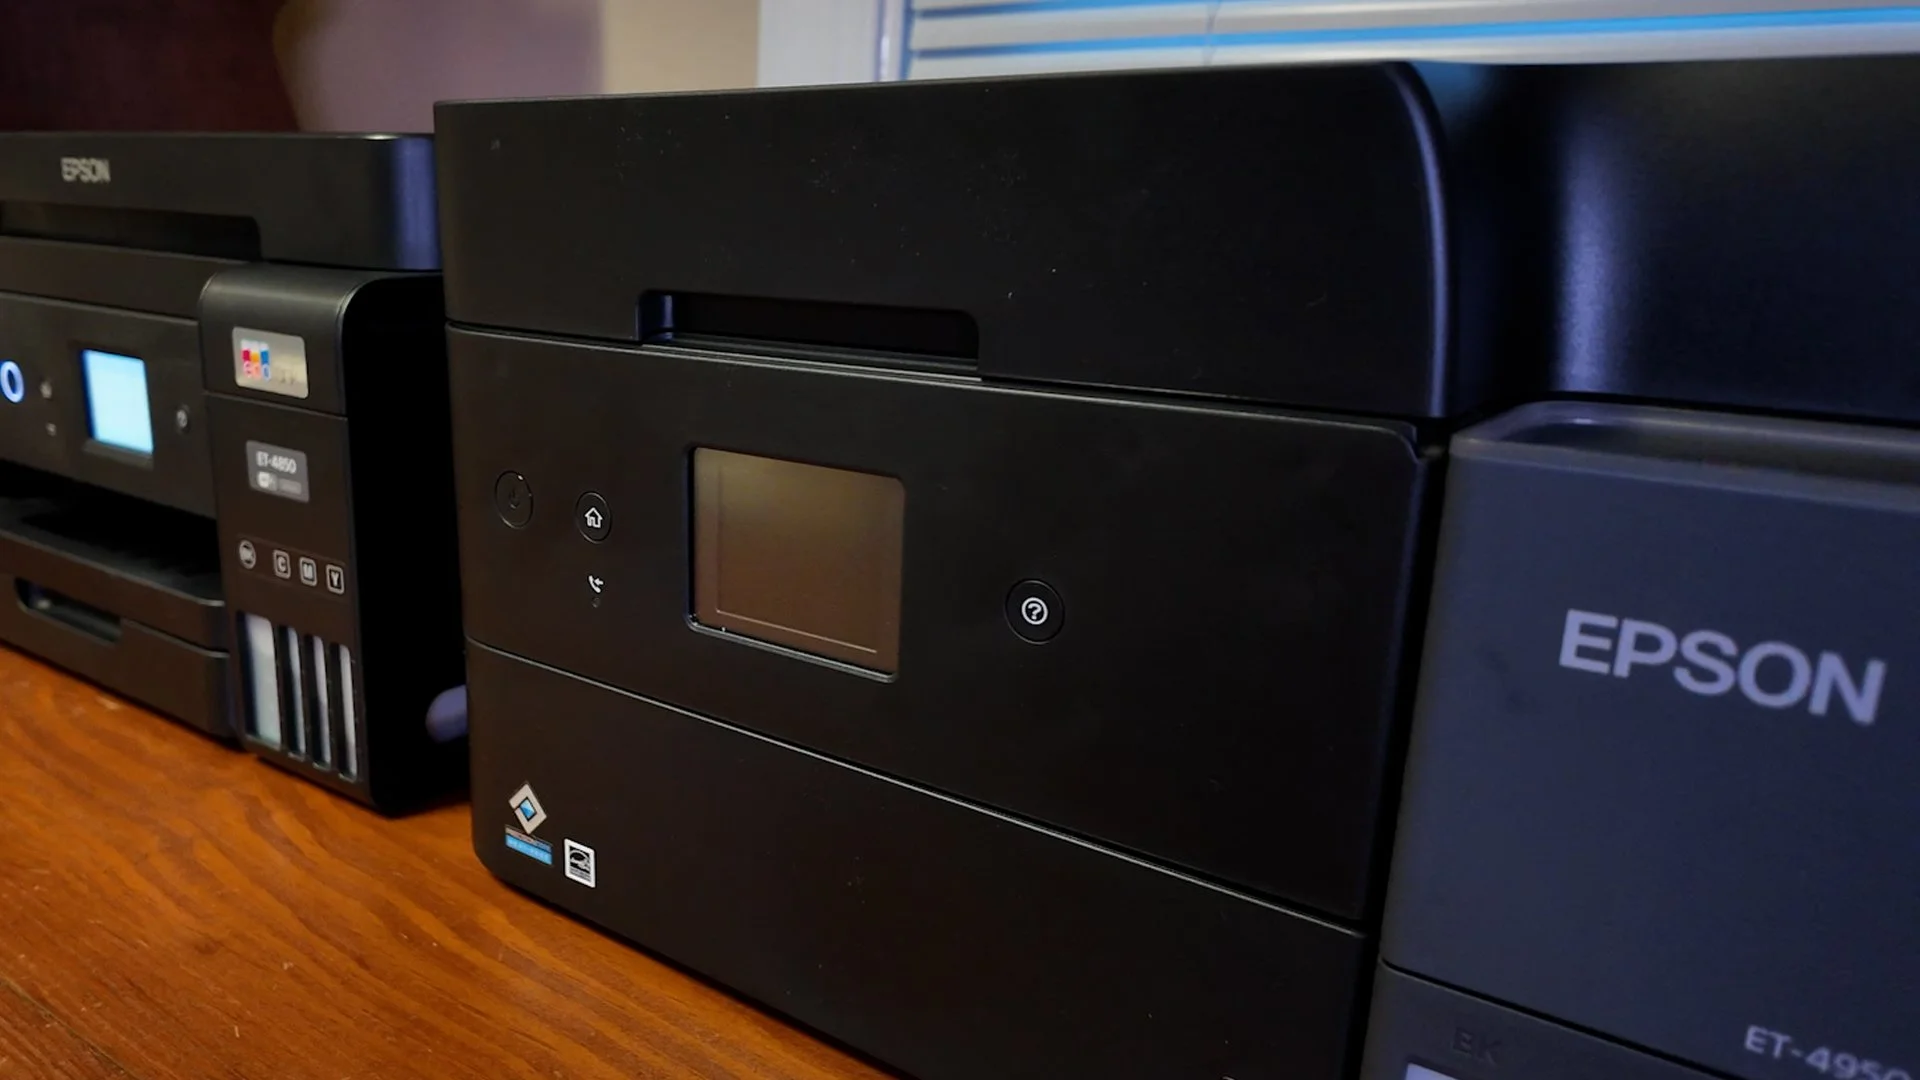
Epson EcoTank ET-4950
I use the Epson EcoTanks in my studio when I invent the Craftables. It’s a workhorse that saves a fortune on ink compared to cartridge ink jet printers. But I do like ink jet vs. color laser because ink jet ink soaks into the paper so you can fold it better without it cracking.
-
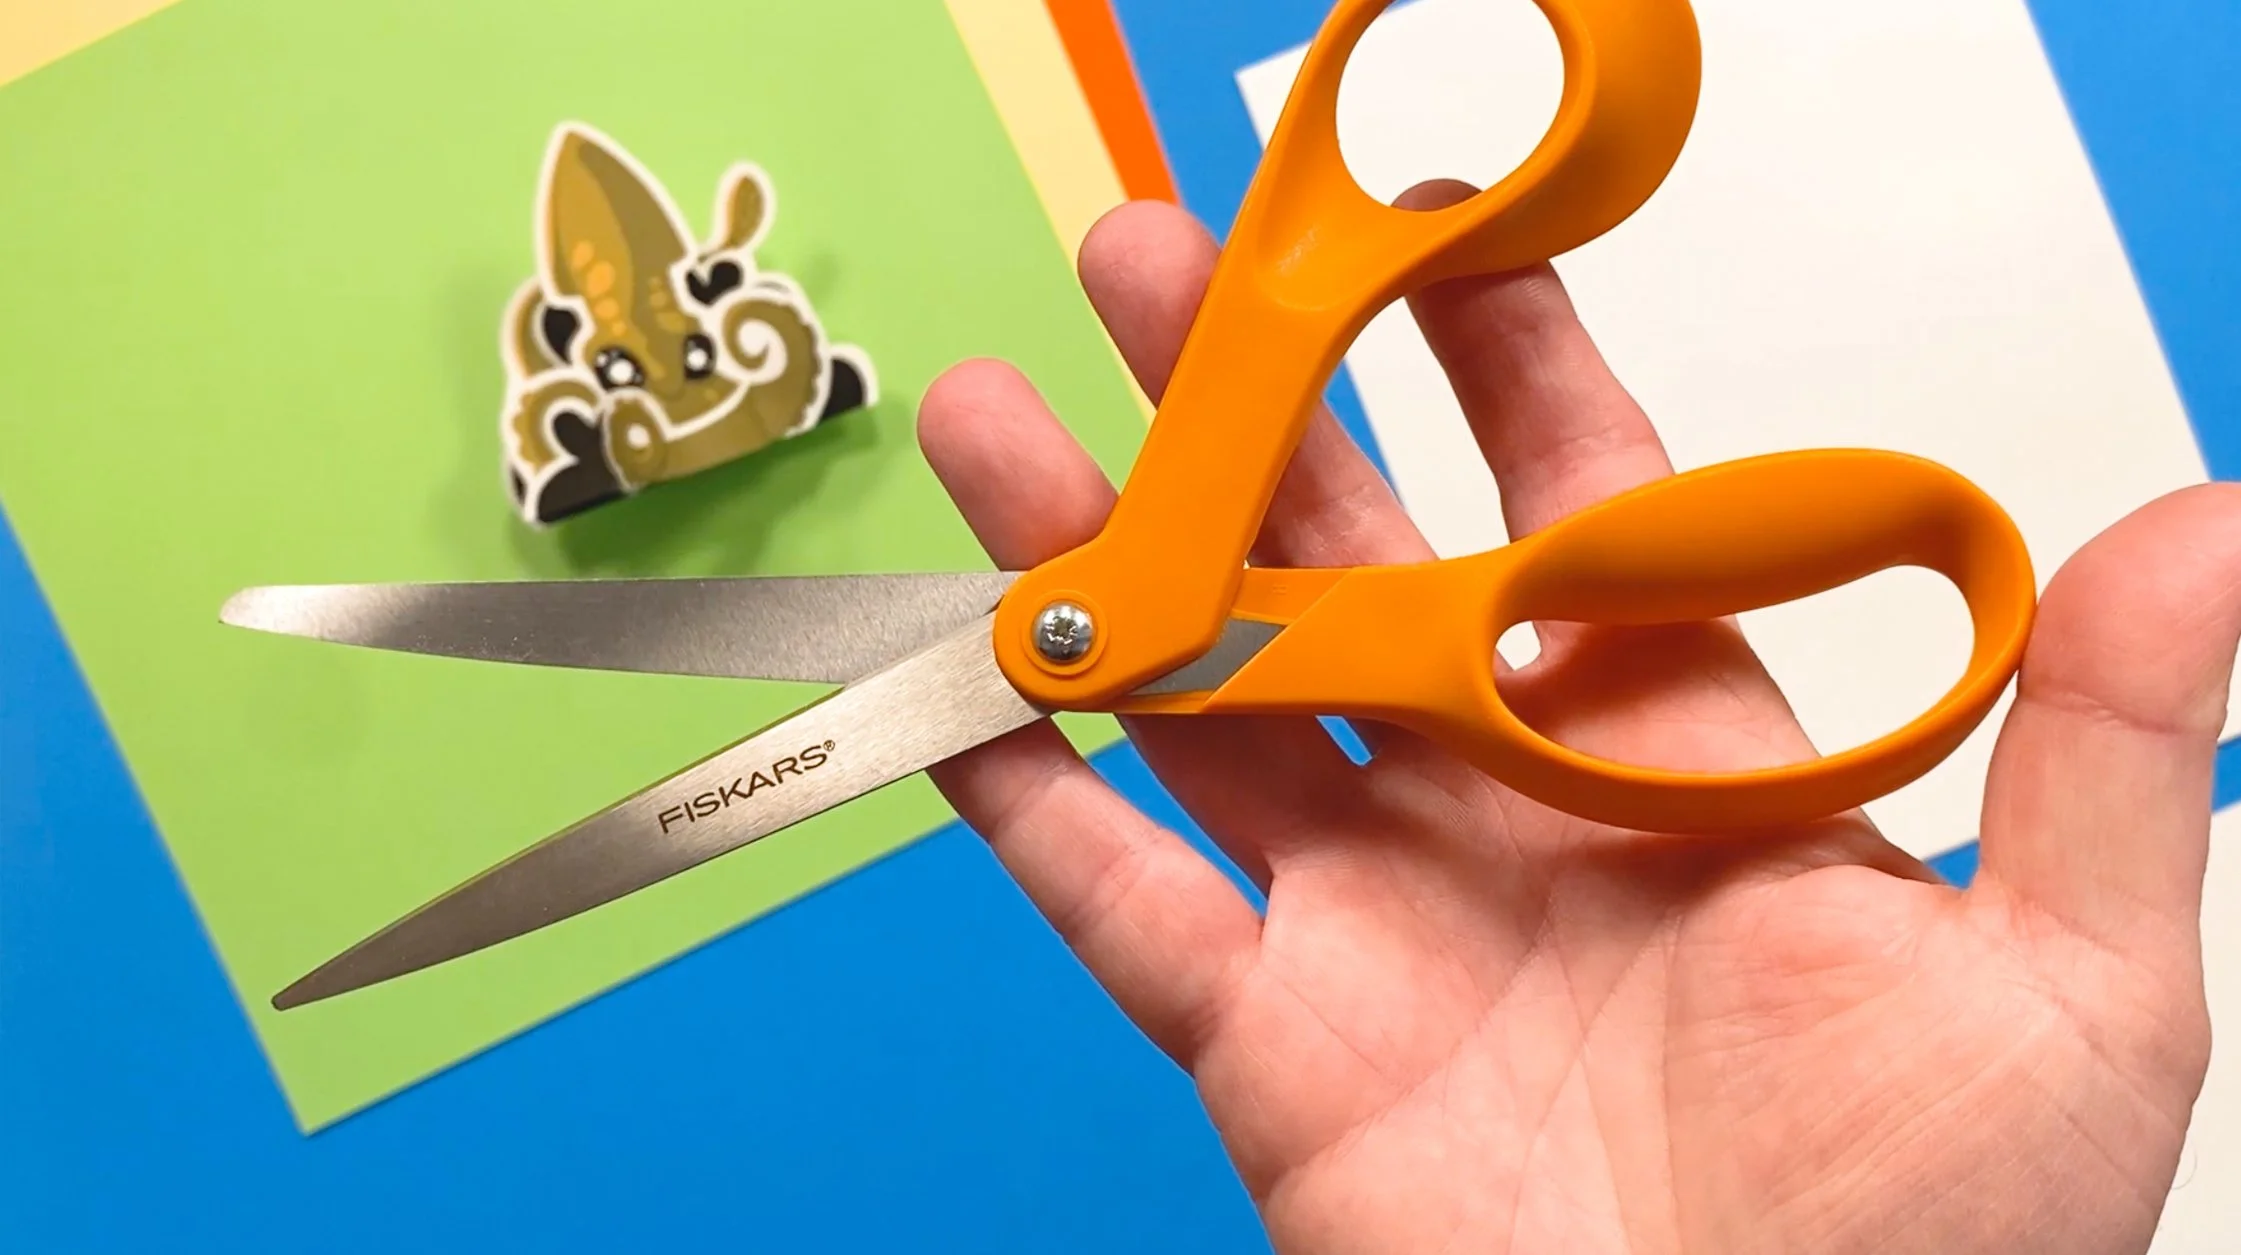
Fiskars 8" Scissors
I use Fiskars 8" Scissors for my 'straight-line cuts' because they stay sharp and feel great. You can use any scissors you’re comfortable with, but if you grab these, be sure to select the appropriate right-handed or left-handed version!
-
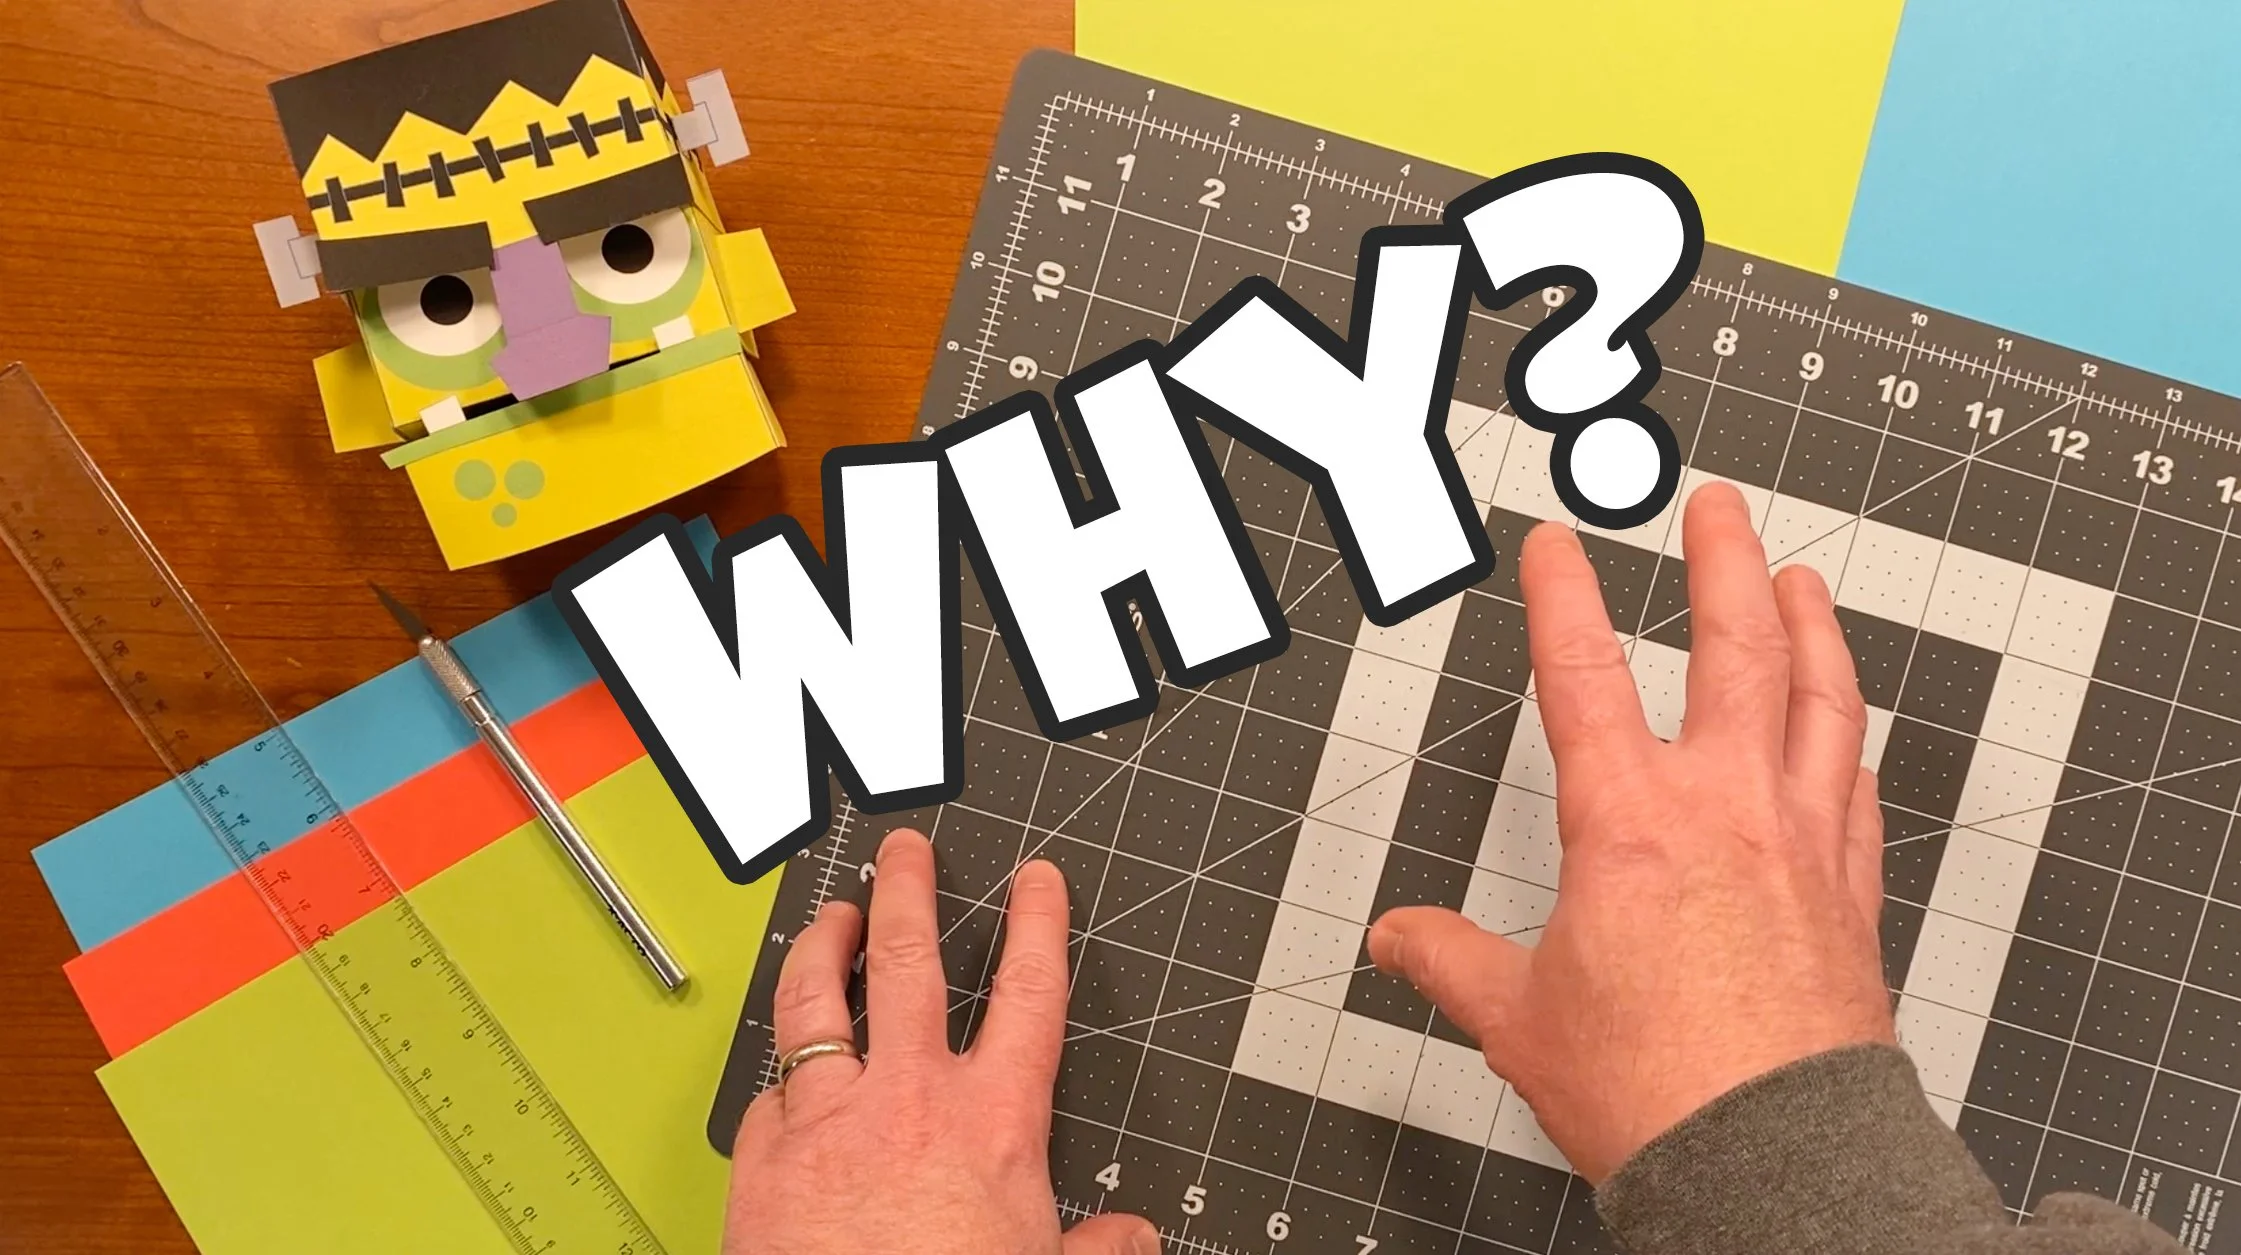
Fiskars Cutting Mat
I use a Fiskars Cutting Mat to protect my work surface. It provides a steady grip when you’re scoring or cutting, making the assembly process much smoother. It’s a simple way to keep your furniture safe and your 'Fun-First' builds accurate and headache-free.
-
Elmer's Glue Sticks
I use Elmer’s School Glue Sticks with disappearing purple color because you can see exactly where the adhesive lands before it dries clear on my big chunky glue zones. Any glue works, but stay away from liquid glue because it can warp the paper.
-
Card Stock Paper
I use 65lb uncoated cardstock for my builds. It is the perfect weight—sturdy but light enough to fold easily with scoring. Regular printer paper is too flimsy, so a nice cardstock is the secret to long-lasting, high-quality Kooky Craftables!
-
Scoring Stylus
I use a scoring stylus to prep my fold lines before I ever pick up the glue. Paper has grain in it, so scoring the dotted lines before you fold becomes your crafty super power for making sure the fold happens exactly where you want it to!
-
Clear Ruler
A clear ruler is the perfect teammate for your scoring stylus. It lets you see your paper craft pieces underneath as you score your dotted and dashed lines. Sometimes I like to use the metal ones with the cork backing for extra grip, but the truth is, any straight edge will work.
Why I Print on an Epson EcoTank
A printer is a big tool for crafting—and one of the more expensive ones. If you want the full scoop on why I swear by Epson EcoTanks, check out this in-depth review. This is not a sponsored video, so I'll tell you straight from my own experience.